
Ultrasonic testing (UT) is one of the most trusted non-destructive testing (NDT) methods engineers use to catch these flaws before they become disasters. It verifies material integrity without cutting, breaking, or altering the part in any way.
This guide covers how UT works, the equipment behind it, how it stacks up against other NDT methods, and why the raw material you start with matters just as much as the inspection itself.
Key Takeaways
- High-frequency sound waves detect internal and surface flaws without damaging the material
- Aerospace, defense, oil & gas, and heavy industry use UT to verify welds and materials before parts enter service
- Inspection cost and accuracy hinge on equipment type, technician certification, and material homogeneity
- Sourcing certified, traceable alloys upfront reduces defects flagged later in inspection
What Is Ultrasonic Testing (UT) and What Is It Used For?
Ultrasonic testing sends high-frequency sound waves through a material and analyzes the echoes that bounce back. According to the American Society for Nondestructive Testing (ASNT), UT detects and measures discontinuities in components ranging from plates and tubes to forged parts. It also assesses corrosion in pressure equipment and piping.
Frequency selection isn't fixed to one narrow band. Industrial work commonly runs from roughly 500 kHz up to 20 MHz, though the full usable range stretches much wider depending on the application, per Quality Magazine's overview of ultrasonic material analysis.
The governing procedure and material dictate the right frequency—not a single default value.
UT is nondestructive by design. The part goes back into production or service immediately after inspection, with zero material loss.
Industries That Depend on UT
- Aerospace — verifying forgings, landing gear components, and structural parts
- Defense — confirming material integrity for mission-critical hardware
- Oil & gas — checking pipeline welds and pressure vessel walls for corrosion
- Power generation — inspecting turbine components and reactor parts
- Metal manufacturing — screening bar stock, billet, and plate before fabrication
What UT Catches
UT commonly finds:
- Cracks, porosity, inclusions, and slag
- Lack of fusion in welds
- Wall loss from corrosion or wear (via thickness measurement)
For metal buyers, that maps straight to sourcing. Forgings, bar stock, and billet need to be defect-free before they hit the fabrication line—not after.
How Does the Ultrasonic Testing Process Work?
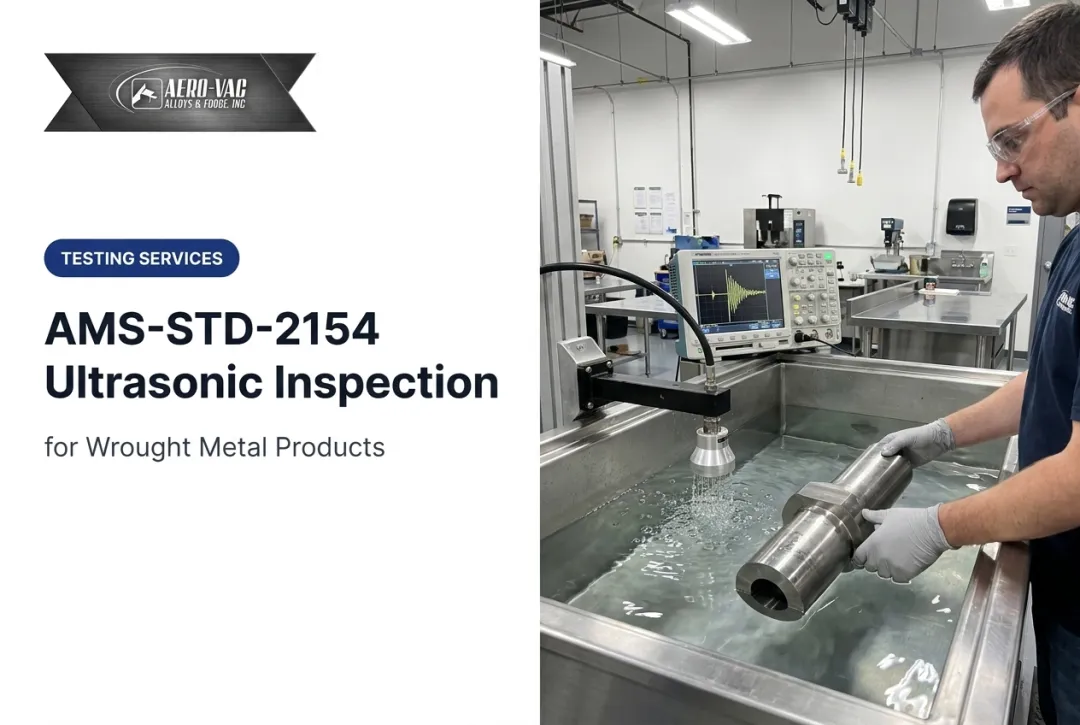
Every UT setup relies on three core components: a pulser/receiver, a transducer (probe), and a display or oscilloscope. The pulser/receiver controls when the system sends and receives signals. The display shows the resulting waveform for interpretation.
The piezoelectric effect drives the probe: a crystal element converts electrical energy into sound waves, then converts returning echoes back into electrical signals. Element thickness sets pulse frequency, and damping controls resolution—especially important when scanning coarse-grained metals.
The Inspection Steps
- Prepare the surface — clean and smooth the area to ensure good sound transmission
- Apply couplant — a gel or liquid that eliminates air gaps between probe and part
- Calibrate the system — using a reference or calibration block matched to the material
- Scan the probe — moving it across the surface following a defined pattern
- Record and interpret results — analyzing waveform echoes for flaw location and size

Pulse-Echo vs. Through-Transmission
In pulse-echo testing, a single probe both sends and receives sound, making it the standard setup for most fieldwork. Through-transmission testing places two probes on opposite sides of the part: one transmits, one receives. Loss of signal between them flags a discontinuity.
Either way, technicians read the A-scan waveform—echo amplitude plotted against time of flight—to judge a defect’s depth, size, and general shape. Sound velocity depends on the material’s density and elastic modulus, so you calibrate against a known reference before trusting any reading.
Types of Ultrasonic Testing and Equipment Used
Three practical approaches cover most ultrasonic inspection work: contact, immersion, and phased array.
Contact testing places the probe directly against the part with couplant applied. It's portable, fast to set up, and the standard choice for field inspections on bar stock, forgings, and weld seams.
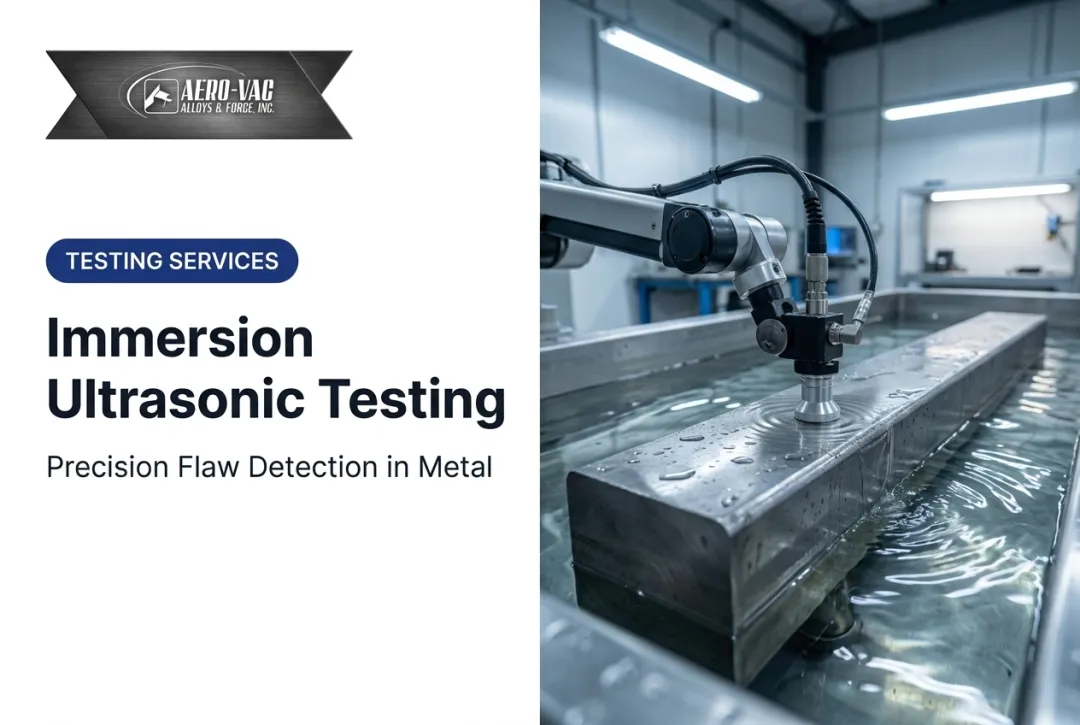
Immersion testing submerges the part and a waterproof transducer in a tank. This method suits automated production-line inspection and complex geometries where consistent coupling is hard to maintain by hand.
Phased Array Ultrasonic Testing (PAUT) uses multiple elements fired with electronically timed delays. Technicians can steer, sweep, and focus the sound beam without physically moving the probe. Per ASNT's introduction to PAUT, electronic scanning can cover ground roughly an order of magnitude faster than single-probe mechanical scanning, though initial setup takes longer to configure properly.

Core Equipment Checklist
Most UT setups rely on the same core hardware:
- Transducers/probes (straight-beam or angle-beam, depending on the application)
- Flaw detectors (pulser/receiver units)
- Thickness gauges for corrosion and wear monitoring
- Calibration blocks matched to the material type
- Couplant (gel, liquid, or water for immersion setups)
UT vs. Other NDT Methods (UT vs. PAUT vs. MT)
Choosing between UT, PAUT, and Magnetic Particle Testing (MT) comes down to what you need to find and what material you're working with.
| Method | Best For | Key Limitation |
|---|---|---|
| Conventional UT | Portable volumetric inspection of plate, bar, forgings | Setup and interpretation depend heavily on operator skill |
| PAUT | Fast weld inspection, restricted-access geometries, recorded imaging | More complex procedures; poor setup can oversize indications |
| MT | Surface and near-surface flaws in ferromagnetic materials | Cannot detect subsurface defects; not applicable to non-ferromagnetic alloys |
UT vs. PAUT: PAUT is technically a form of UT. It just uses multiple elements instead of one probe, giving real-time imaging and broader angle coverage in a single pass. Conventional single-probe UT still holds up well for straightforward, high-volume checks where speed isn't the bottleneck.
UT vs. MT: MT only works on ferromagnetic materials and it's limited to surface and near-surface flaws. UT penetrates far deeper and works across a much wider range of alloys, including titanium and nickel-based materials that MT can't touch at all.
Match the method to the material and the defect depth. Don't force MT onto a job that needs volumetric coverage, and don't reach for PAUT when a simple contact probe will do the job faster and cheaper.
Cost and Accuracy of Ultrasonic Testing
UT pricing isn't a flat number. It shifts based on:
- Part size and geometry: complex shapes take longer to scan and calibrate for
- Equipment type: a portable flaw detector costs far less to deploy than a full PAUT scanning rig
- Technician certification level: Level I, II, and III certifications under SNT-TC-1A each carry different labor costs
- Material type: dense, uniform alloys scan faster and cleaner than porous or coarse-grained stock
Certification requirements add real time to the labor side. One 2025 Quality Magazine interview cited 40 hours of Level I training, 40 hours for Level II, and 840 hours of on-the-job training to reach full qualification. That figure isn't universal, but it shows why certified inspection time isn't cheap.
What Affects Accuracy
UT can detect flaws down to a fraction of the sound wavelength being used, but accuracy isn't guaranteed by the equipment alone. It depends on:
- Operator skill and calibration precision
- Grain size and orientation in the material
- Frequency and wavelength selection matched to the flaw size expected
- Material homogeneity: porous or coarse-grained stock scatters sound signals unpredictably
Dense, properly forged aerospace-grade alloys inspect far more reliably than inconsistent material. The raw stock you start with shapes UT results long before the probe touches the part.
Why Material Quality Matters Before UT Inspection
Here's the uncomfortable truth: no UT inspection can fix a bad piece of material. If the alloy has inherent inconsistencies, porosity, or poor grain structure from the start, even a perfectly executed scan just tells you where the problems are. It doesn't make them go away.
This is where sourcing decisions matter as much as inspection quality.
Aero-Vac Alloys & Forge, an ISO 9001:2008 and AS9100-certified manufacturing distributor, supplies traceable alloy steels, titanium, nickel alloys, and forgings to manufacturers including Boeing, Lockheed, and SpaceX. Stock used in aerospace-grade structural work—where inspection stakes are highest—includes:

- AMS 6418 Hy-Tuf wrought low-alloy steel
- AERMET 100 ultra-high-strength forgings built to Boeing BMS PS15169
- Other certified alloy and specialty metal forms destined for mission-critical parts
Aero-Vac also offers independent third-party material testing before shipment, covering destructive and non-destructive methods. Ultrasonic inspection is available to standards such as MIL-STD-2154 and Boeing BSS 7055.
Certified, traceable material reduces defects flagged during UT and later stages, saving time, rework, and cost downstream. When you're buying raw stock for a mission-critical application, that upfront verification is worth more than a lower price tag.
Frequently Asked Questions
How much does ultrasonic testing cost?
Cost depends on part complexity, equipment type (portable flaw detector vs. PAUT scanner), and technician certification level. There's no single universal price, since labor, setup, and material factors all shift the total.
What is the process of ultrasonic testing?
The process includes surface preparation, couplant application, system calibration against a reference block, probe scanning, and recording waveform results for interpretation. Each step affects the reliability of the final reading.
What are the key differences between UT and PAUT testing?
Phased array UT (PAUT) uses multiple elements to steer and focus sound beams electronically, giving faster coverage and real-time imaging. Conventional UT relies on a single probe, making it simpler but slower for complex geometries.
What are UT and MT testing and how do they differ?
UT uses sound waves to penetrate deep into a material, detecting both surface and internal flaws. Magnetic particle testing (MT) only detects surface and near-surface flaws, and only works on magnetizable materials like carbon steel.
How accurate is ultrasonic testing?
UT can detect flaws as small as a fraction of the sound wavelength used. However, actual accuracy depends on operator skill, calibration, and how uniform the material's grain structure is.
What equipment is used for ultrasonic testing?
Standard equipment includes a pulser/receiver (flaw detector), transducers or probes, calibration blocks, couplant, and a display for reading waveform data. PAUT setups add multi-element array probes and specialized software.